Menu Close

Getting Started with Header Builder

What is Header Builder

Header Builder is visual builder which helps you create a custom header for your website easily.

You will learn about:

  1. Getting Started with Header Builder
  2. Header Rows
  3. Customizing Your Header
  4. Mobile Editing

Getting Started width Header Builder

Open Header Builder

  1. On the left side of the WordPress dashboard click Appearance -> Customize 
  2. Click Header Panel
Header Builder Editor

The Header Builder have 2 areas:

  1.  Header Live View Area: This place display exactly what will see in frontend.
  2.  Editor Area: Here you can add, remove, resize, drag and drop item to sort.

Header Editor Rows

Header was is designed with 3 rows: Top, Main, Bottom, However we have one column called  Menu Sidebar.  All rows and columns have same settings but different position options.

Customizing Your Header

Add an item to header row

At the bottom of header editor you can see the builder widgets. To add item move mouse cursor to item which you want to add, then clicking and hold the mouse left button on it and then drag item to a header row then drop it in the grid.

Customize builder item

Clicking on gear icon op open item customize settings then see the left page. All the settings for custom header widgets can be found here. 

To open customize of builder item you can choice one of actions bellow:

  • In Header Builder Editor area click to gear icon of builder item.
  • In preview area hover on item preview then click to item name.
  • In the left panel of Customize page, click to Header -> {Builder Item Name} e.g. Primary Menu
Resize and item

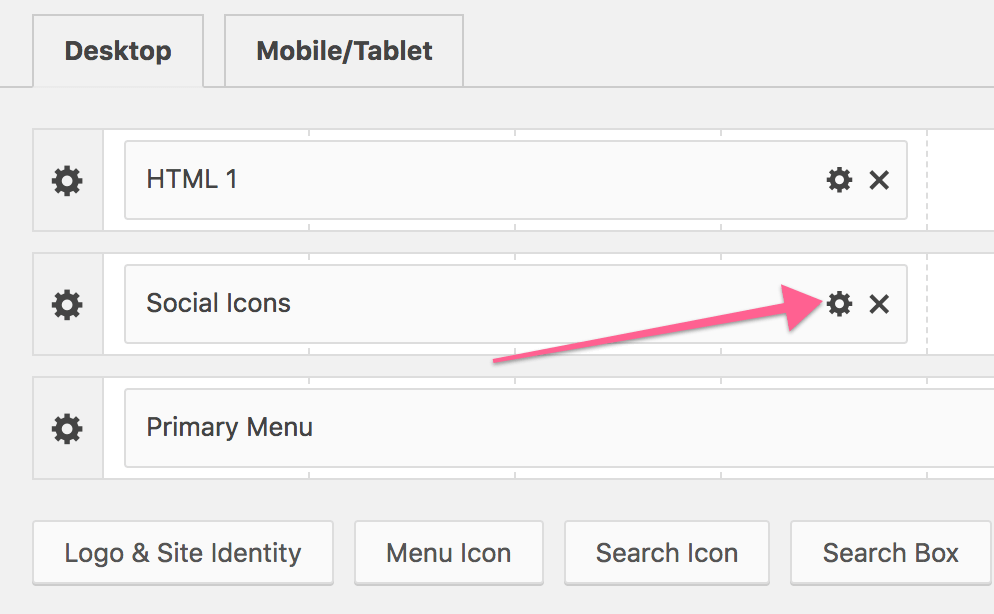
All items added in header row/column are resizable. To resize and item just move mouse to the left or right corner of item, when the cursor changed to  west-east-resize  then click and hold mouse left button then drag your mouse to left and right.

Remove an item

Just Clicking on “X” icon on the corner of item, your item will be removed.

Mobile Editing

On the top left corner of Header Editor click to “Tablet/Mobile” to switch to mobile editing mode. All actions are the same as above.

The difference is you will have an additional column called menu sidebar.

  • The Menu Sidebar is hidden by default.
  • On Frontend the Menu sidebar show only when you click to item Menu Icon.
  • To show Menu Sidebar when editing just click to gear icon of Menu sidebar column.
  • To add items to Menu Sidebar just drag and drop item to this column.