
Customify Hooks in Customify Pro lets you insert content or code into Customify theme hook locations.
Use hooks for reusable placements such as notices below posts, banners near Header Builder output, content near Footer Builder areas, or shop-specific additions beside WooCommerce Booster layouts.
Where to find it
- Go to Customify → Dashboard. The Customify dashboard opens.
- In Pro modules, switch on Customify Hooks.
- Click Settings on the Customify Hooks card. The hooks admin screen opens from the Customify menu.
- To return manually, go to Customify → Customify Hooks. This submenu now lives under Customify.

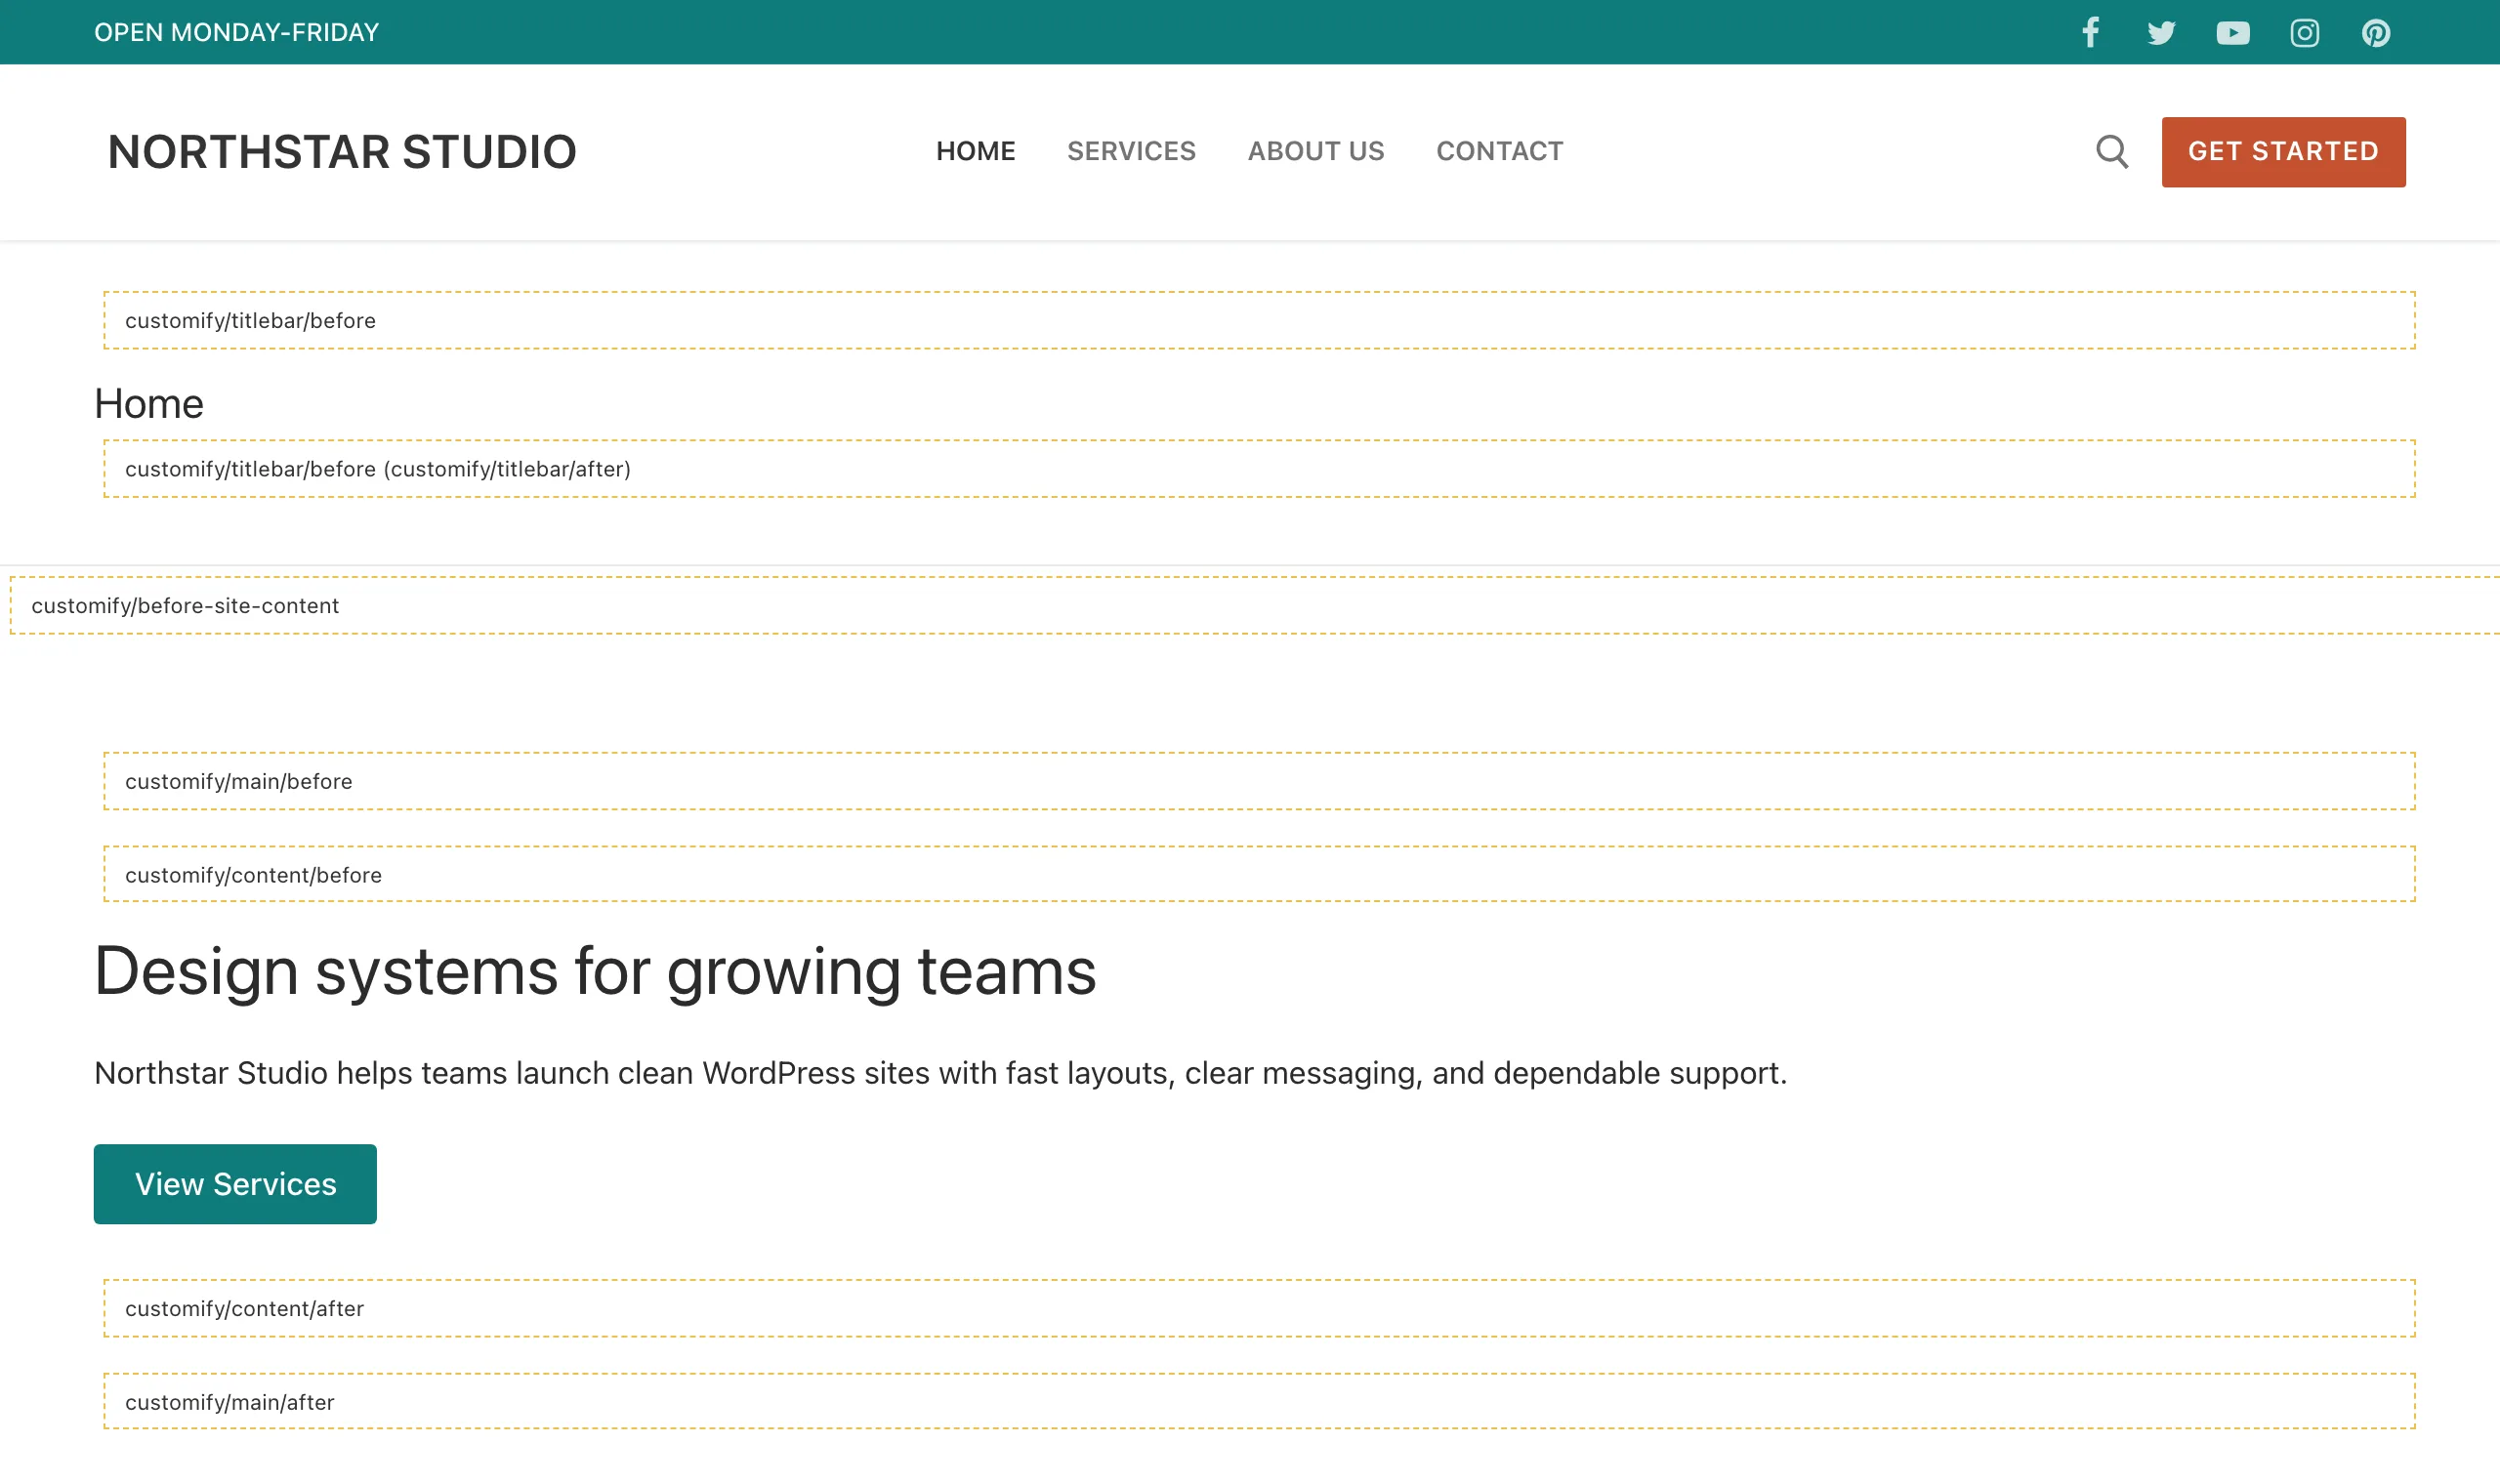
Find hook locations
- Open the front end while logged in as an administrator.
- In the WordPress admin bar, click Show Hooks. Hook markers appear on the page.
- Copy the hook name for the location where your content should appear.

Create a hook entry
- Go to Customify → Customify Hooks.
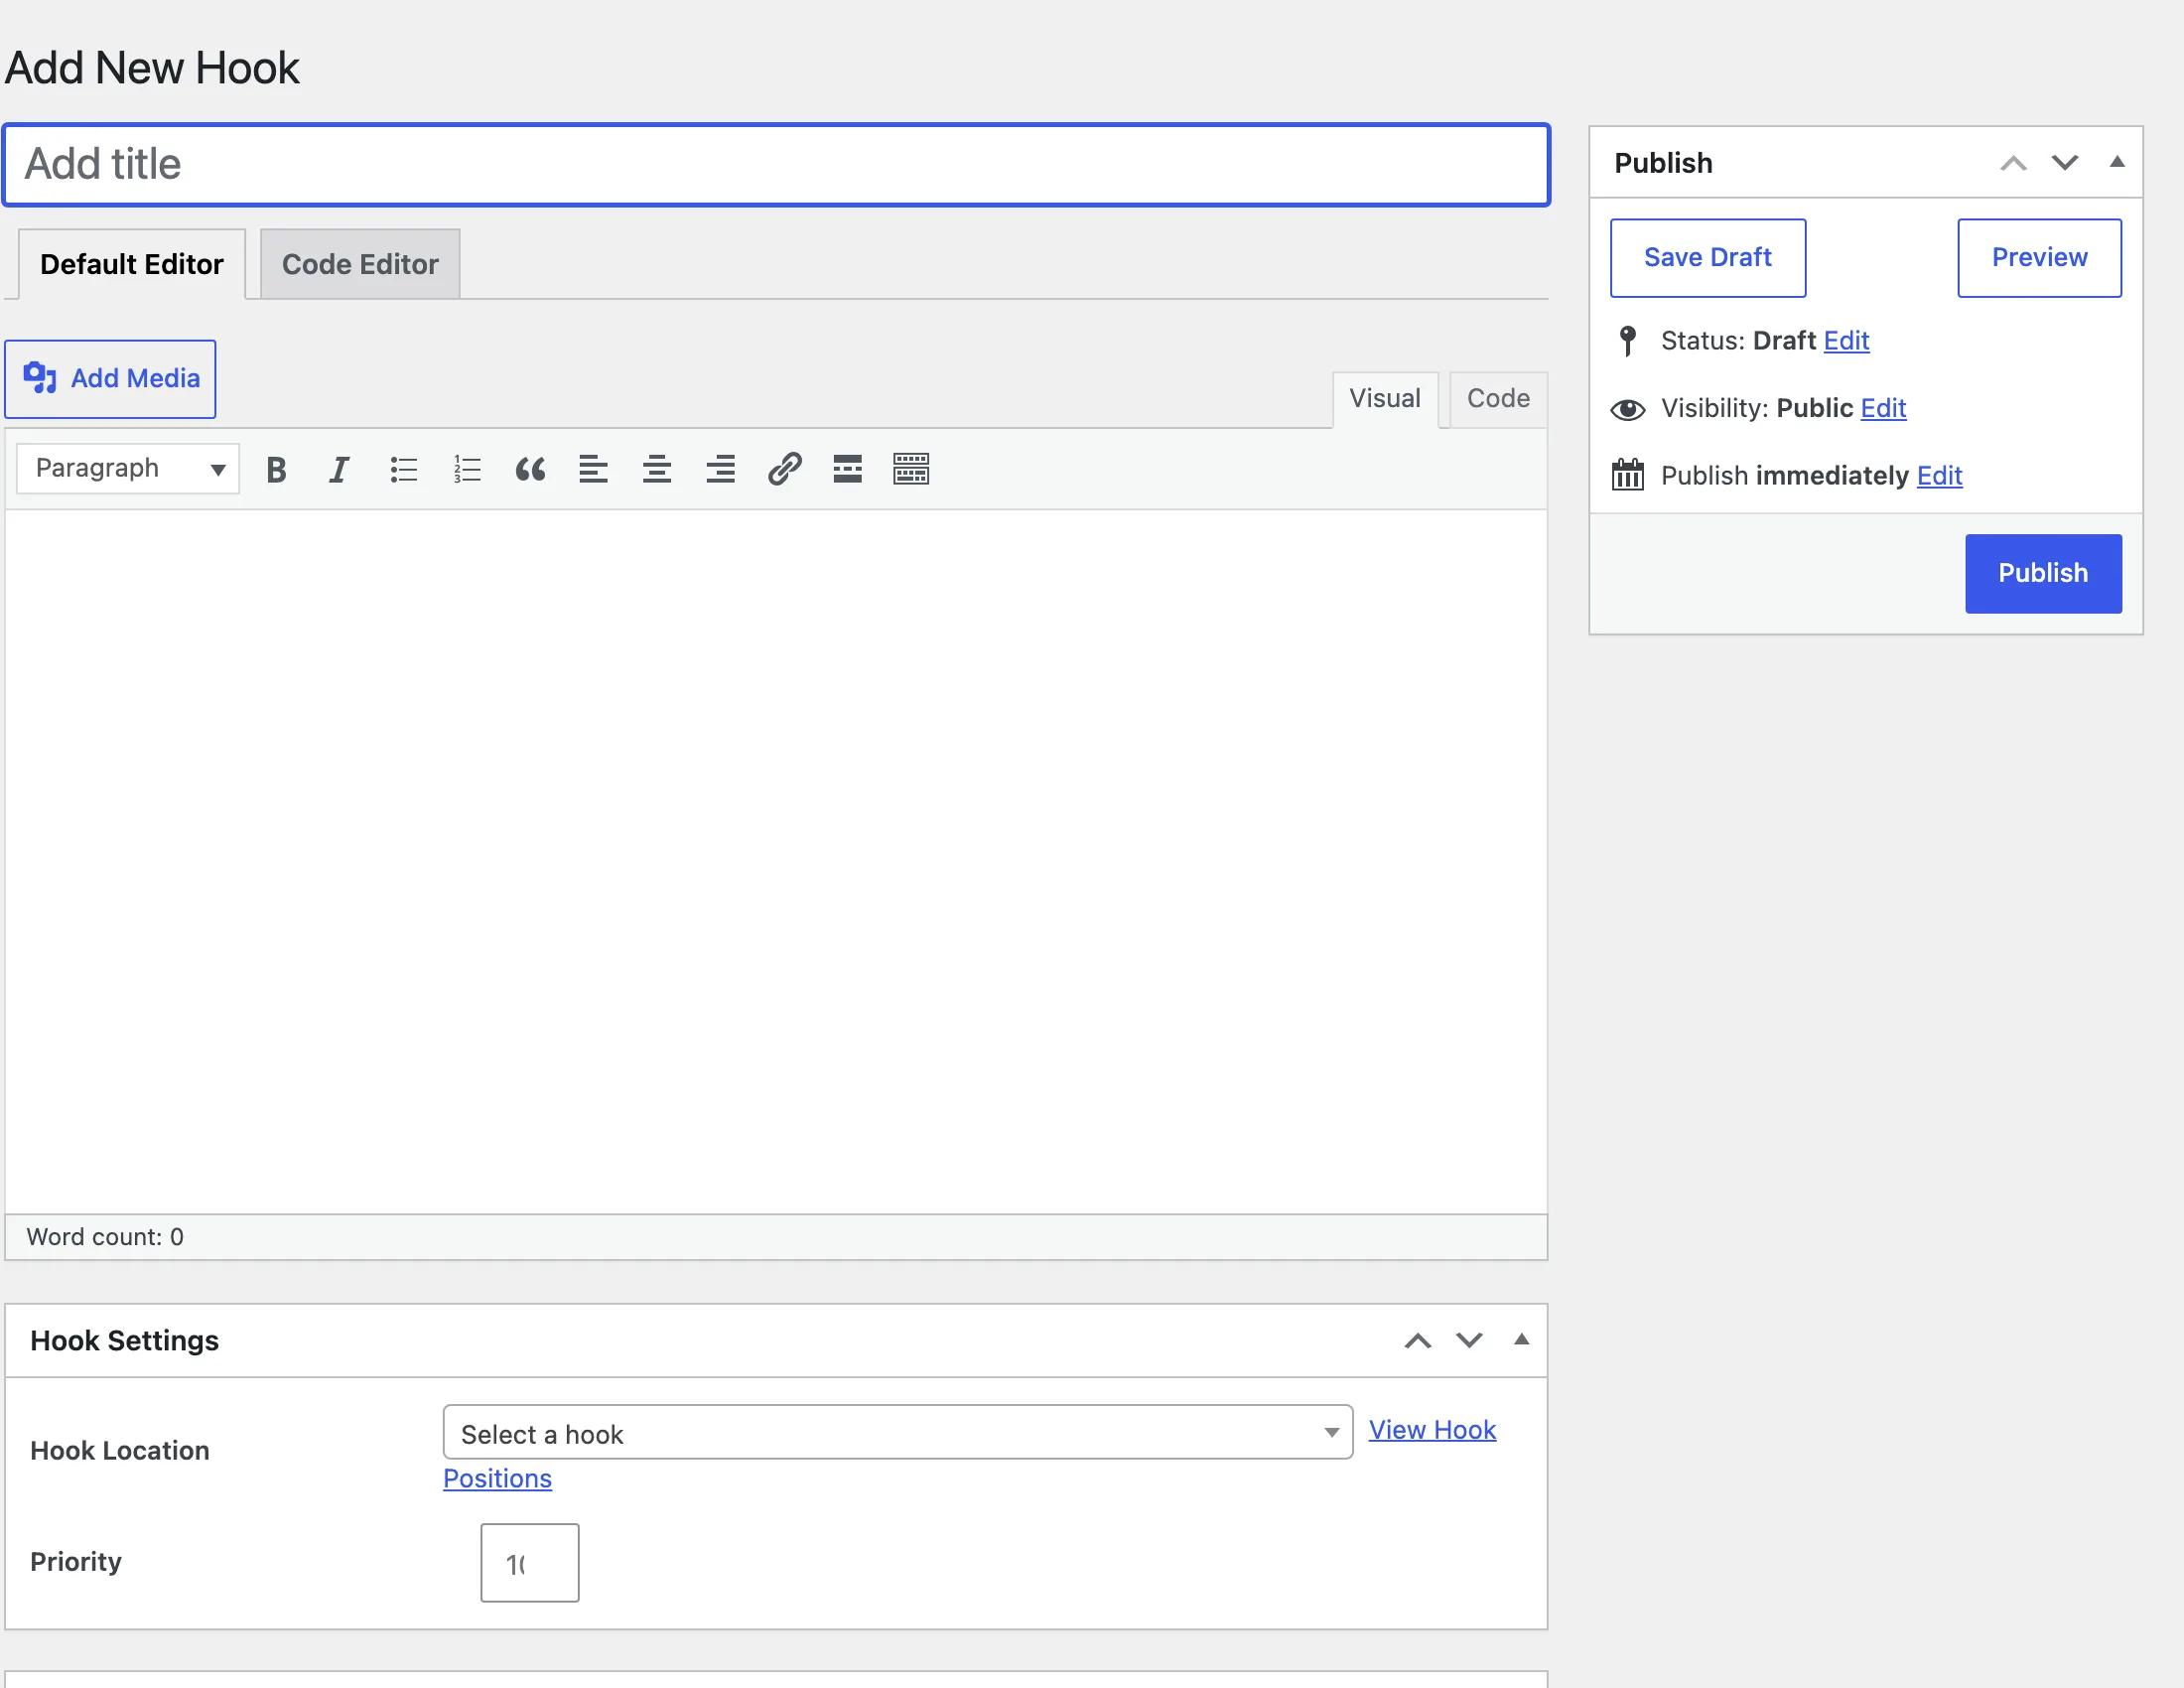
- Click Add New. A new hook entry opens.
- Enter a clear title, such as Below Post Content.
- Choose Default Editor for normal content or Code Editor for code. Enable PHP only if you understand the security risk of running custom PHP.
- Choose the Hook Location, set Priority, then click Publish.

Control display rules
| Panel | What it controls |
|---|---|
| Hook Location | The action hook where the content is inserted. |
| Priority | The order in which content runs at the same hook location. |
| Conditionals | Whether the hook appears site-wide, on archives, or on specific posts and pages. |
| User Roles | Which logged-in roles can see or run the hook output. |
For blog placements, combine hooks with Blog and Blog Pro settings instead of duplicating layout work in hook code.